Interlock Walkway DIY
Improve Your Home’s Curb Appeal with an Interlock Walkway
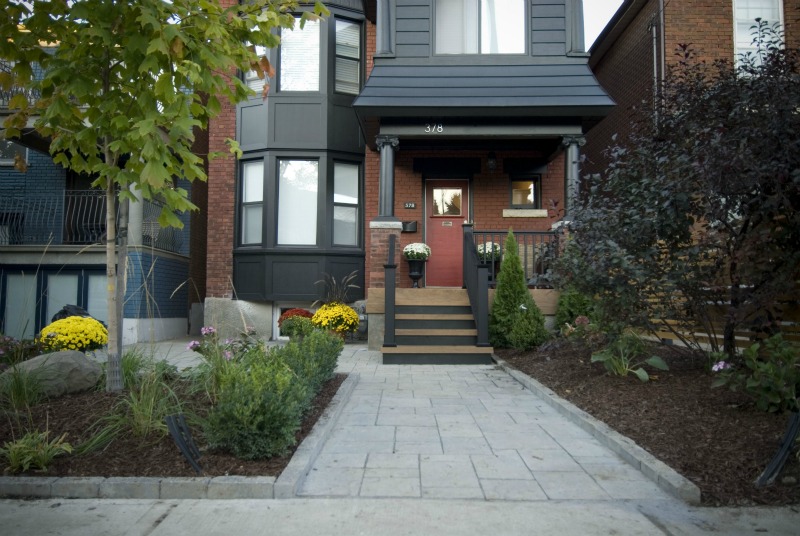
Interlock walkways are great for curb appeal and can offer a decent ROI. And what’s even better is that anyone with basic DIY skills should be able to install one in a weekend. (Please note the same does not go for interlock driveways. This is a much bigger job that requires the help of a professional.) So if you want to improve your home’s curb appeal consider an interlock walkway.
How to Lay an Interlock Walkway
**Note: this project can also be found in my book, How to Add Value to Your Home.
Whenever I use interlock I make sure to choose something that is classic and timeless. Anything that stands out too much will eventually look dated so choose something that looks close to natural stone.
Materials Needed: interlock paving stones, landscape fabric, gravel, sand, polymeric sand, metal edging and spikes.
Tools Needed: shovel & rake, tamping tool (or compacting machine), hammer, water supply & hose
- Measure the area where you want your walkway to run. I always advise keeping it simple and avoiding curves and elaborate designs. In this case it’s good to walk the straight and narrow!
- Choose a pattern and calculate how many square feet of pavers you need. The reno or landscaping centre where you purchase them should be able to advise you on how many you need.
- Prepare the area by digging out the walkway to at least six inches plus the thickness of the stones. You want the stone at least an inch above the grass so that the water runs off it.
- Line the ground in the dug up area with a layer of landscape fabric. This will prevent weeds from coming up between the stones over time.
- Pour your base (either pea gravel, gravel, or processed stone). You should have 4 inches of gravel for the base of a walkway.
- Pack the base using a manual packing tool or motorized plate compactor (available for rent at many home-improvement centres).
- Place two metal one-inch poles or pipes on the base material, near the edges of the path, so they are at the height where the base of the interlock stones should be (with the string indicating where the top of the stones will be). Then fill around these screed poles with sand or stone dust and tamp it down with a tamping tool. The sand should be slightly higher than the tops of the poles.
- Place a 2×4 board perpendicular to the poles, with each end of the board resting on a pole. Then pull the 2×4 along the poles and down the pathway until the sand is levelled out.
- Lay the interlock stones in your desired pattern on top of this. Set the stones in place carefully and do not drag them across the sand.
- When you have finished laying the stones, place the metal edging securely along the sides of the path. Place the spikes into the holes provided, angling them a little so that the bottoms of the spikes are pointing towards the path. Then drive in the spikes.
- Pour polymeric sand over the entire area of the pavers and sweep it into the gaps between the stones. Sweep away any excess.
- Tamp the pavers again, and then spray the polymeric sand down with a bit of water. Allow the sand to dry and then repeat the wetting process.
To read more about exterior landscaping, check out chapter 7 of my book How to Add Value to Your Home.
Photo courtesy of SKIT Inc. / Income Property

Comments