How to Install a Door Lite
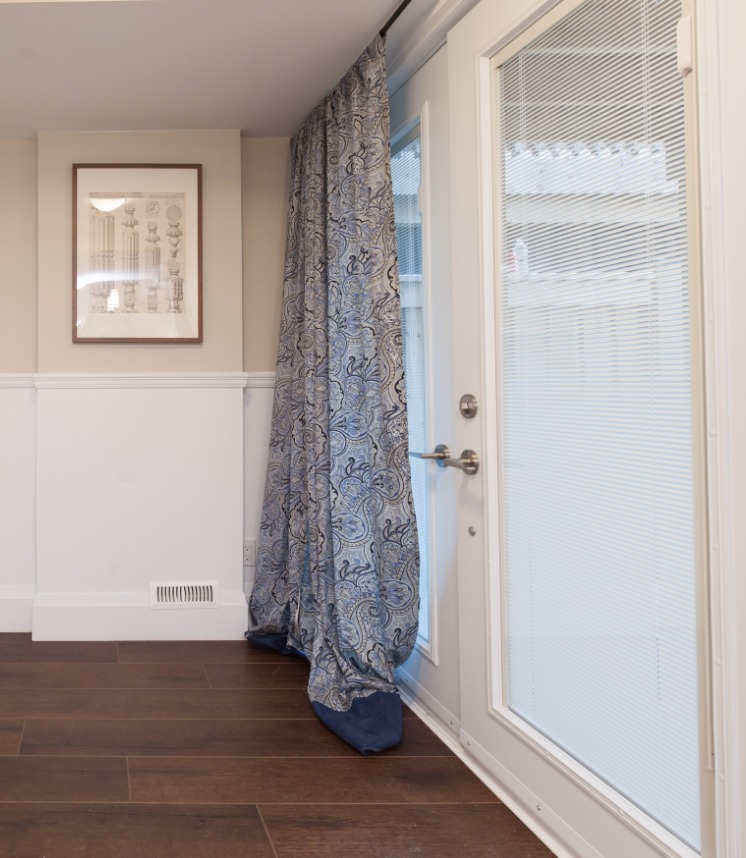
A door lite adds light and possibly ventilation (if it’s not a fixed pane) to meet light and ventilation requirements when necessary. It also makes a space brighter and bigger feeling. Some come with decorative designs and some even come with an internal blind if privacy is an issue.
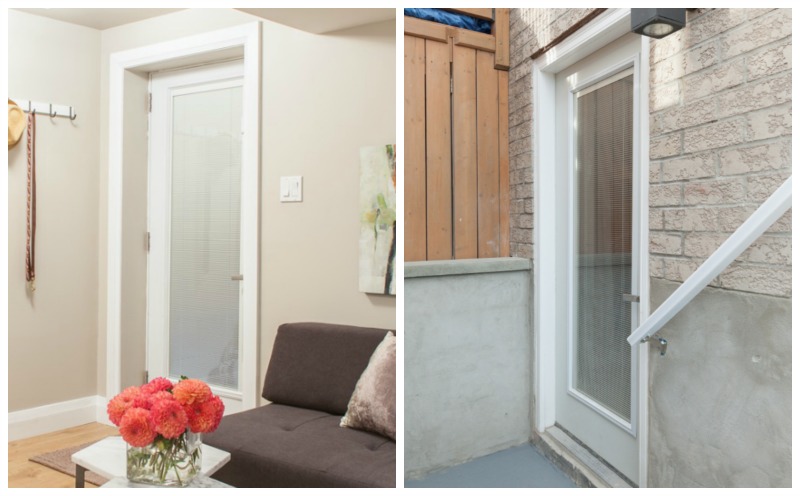
If you’re replacing an existing lite it’s a fairly easy DIY project, but if it requires cutting into steel it gets a bit more complicated. If you’re not comfortable using a jigsaw consider hiring a professional. And always use extreme caution when handling large pieces of glass.
Replacing an Existing Door Lite
DIY level = Easy
Number of people required = 2
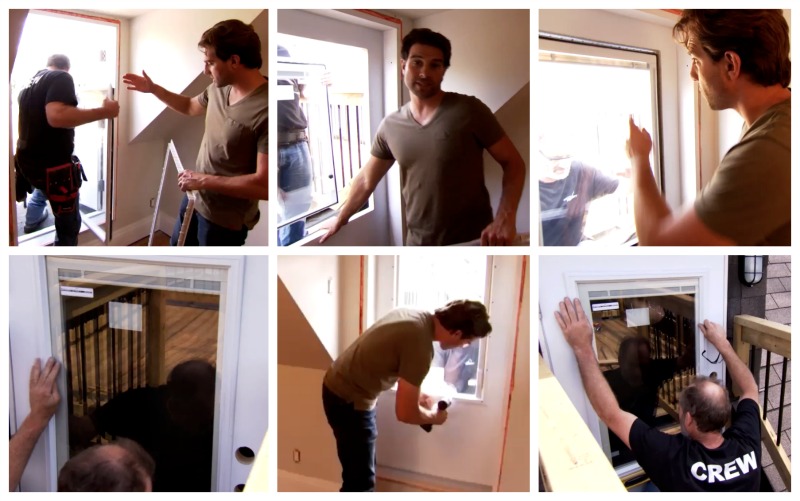
- Remove the screws from the trim of the existing door lite. Carefully remove the door lite trim from the door (on both sides) and remove the existing glass. Have one person stand on each side of the door to keep the glass from slipping.
- Insert the new door lite trim kit in the opening on one side. Then install the glass from the other side and insert the second trim piece.
- The door light must be installed with the screw holes on the inside and once square with the door itself it gets screwed in tightly. Don’t forget to use the cap covers to cover the screw holes for a finished look.
Installing a Door Lite in a Solid Door
DIY level = Moderate
Number of people required = 2
Always follow the manufacturer’s installation instructions as their recommendations may vary based on the product model.
- Measure the area to be cut. Most door lights come standard to fit a 32” door and insert nicely in a 6 panel standard exterior door within the top 4 panels. Keep in mind the cut hole will need to be approximately ½” bigger than the door lite in each direction, allowing for a ¼” gap between the edge of the cut hole and the actual frame (**Note: when deciding where to place the door lite on non-standard doors remember to take into account the placement of door hardware and hinges).
- Mark cut lines on both sides of the door making sure the markings align perfectly.
- Cut the opening using a jigsaw with the appropriate blade for the material. File off any sharp edges made by the cuts.
- Insert the new door lite trim kit in the opening on one side. Then install the glass from the other side and insert the second trim piece.
- The door light must be installed with the screw holes on the inside and once square with the door itself it gets screwed in tightly. Don’t forget to use the cap covers to cover the screw holes for a finished look.
All photos courtesy of RTR Media

Comments