Reduce Sound Between Floors to Maximize Comfort
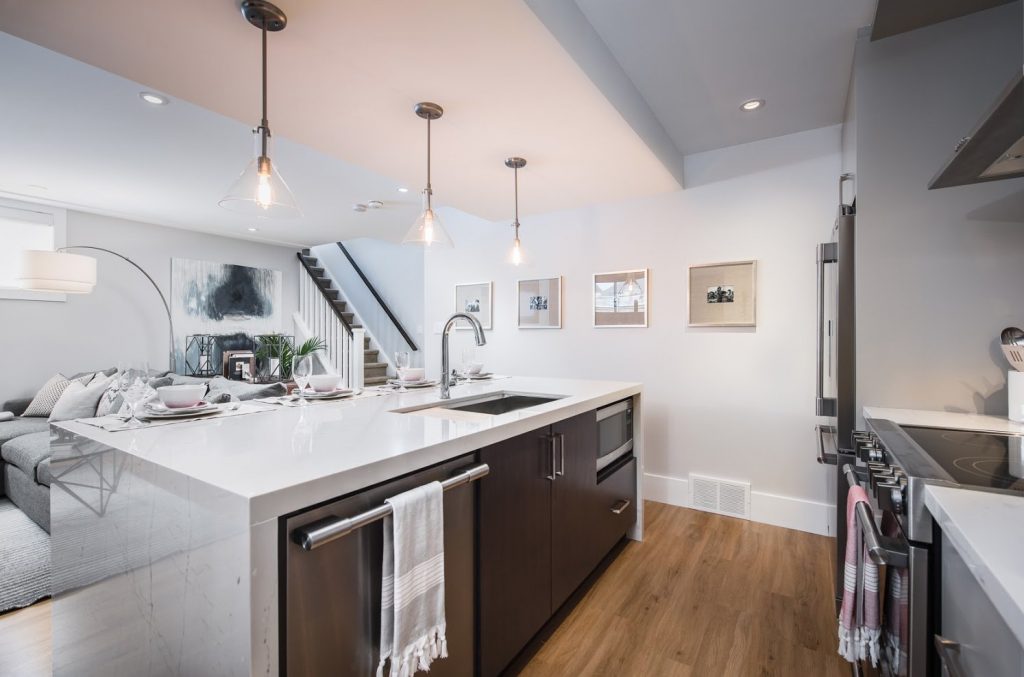
Whether it’s a renovation or a new build, sound dampening between floors is a top priority, especially in rental or in-law suites, multi-family dwellings or even cottages.
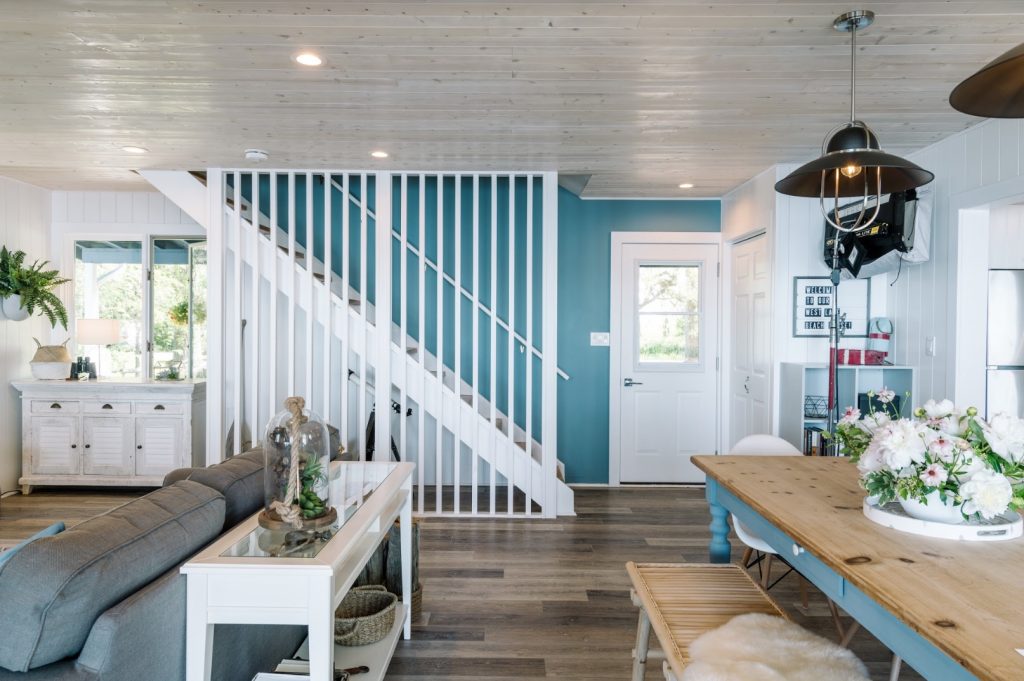
Noise can put a real dent in occupant comfort and wellbeing, and worse still, it can also prevent owners from maximizing the full income potential of their properties.
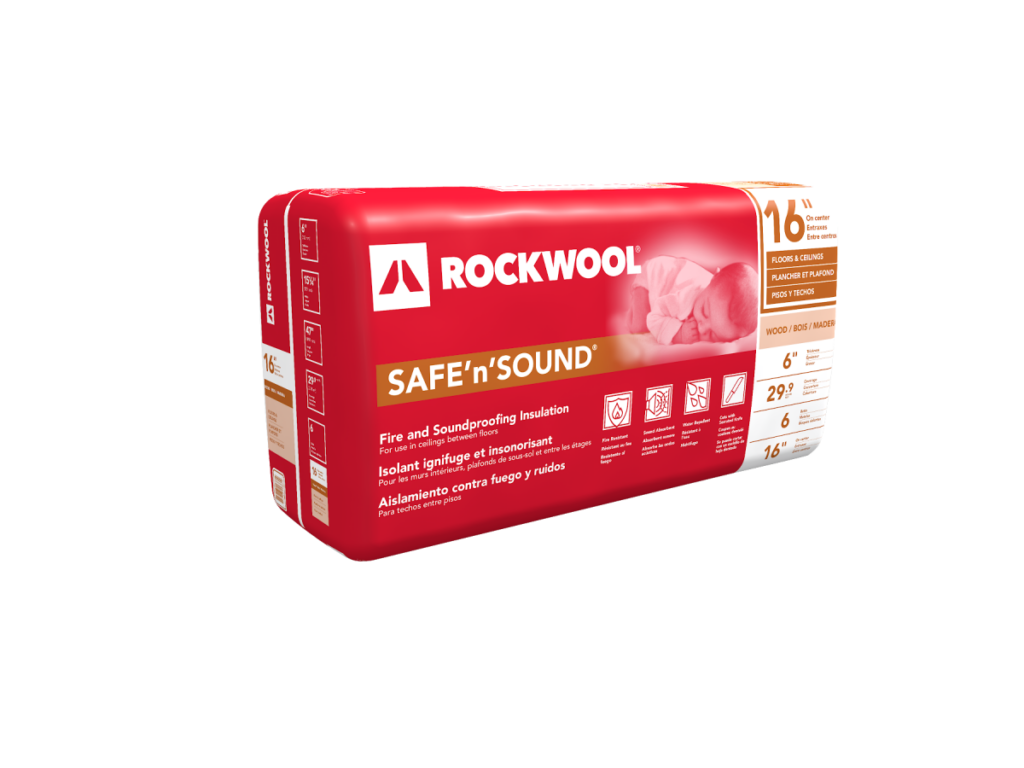
The good news is that reducing sound transfer between floors is easier to do than you might think. Traditionally, the job requires two, 3” layers of acoustical fire batt insulation, but now the job is quicker and easier than ever. That’s because ROCKWOOL has introduced its Safe’n’Sound insulation in a 6” thickness. That means only one layer of insulation is required to achieve superior sound dampening, so you can complete the job in less time with fewer cuts.
I’ve been a fan of ROCKWOOL stone wool insulation for years, and it’s my insulation of choice because it offers a multitude of additional benefits, including added fire protection. In fact, stone wool insulation is noncombustible up to temperatures of 1,170˚C (2,150˚F), which is great if you’re looking to achieve fire separation required by code in a basement apartment or rental unit or simply wanting to increase safety and sound control. I also like that it’s water and moisture resistant and does not promote the growth of mold or mildew.
How to Insulate Between Floors
For those who have never tackled this type of task, insulating between floors is a great project for a beginner. ROCKWOOL Safe’n’Sound batts come in widths of 16” on centre, 24” on centre, or 19.2 for I-joists. Choose the product width that fits the width between your joists. You can custom fit the batt, too, if needed. All that’s required is a serrated blade such as an insulation knife or, if you don’t have one, a simple bread knife will do. Slightly compress each batt and squeeze into place. Once in position, the batt’s unique spring-back edge will help create a snug fit to prevent gaps where sound can travel through. Continue installing the 6” Safe’n’Sound batts until the entire ceiling cavity is insulated.

If you’re completely finishing the space, you’ll want to install resilient channels according to manufacturer’s guidelines and install gypsum.
We all know life can get pretty loud. Now, you can reduce sound between floors with new 6” Safe’n’Sound®, providing you with a quieter home and an improved experience for potential tenants. The end result is a space that can be enjoyed peacefully, just as it was meant to be. It’s a great investment that will contribute to your comfort for years to come.

Comments