How to Paint Kitchen Cabinets
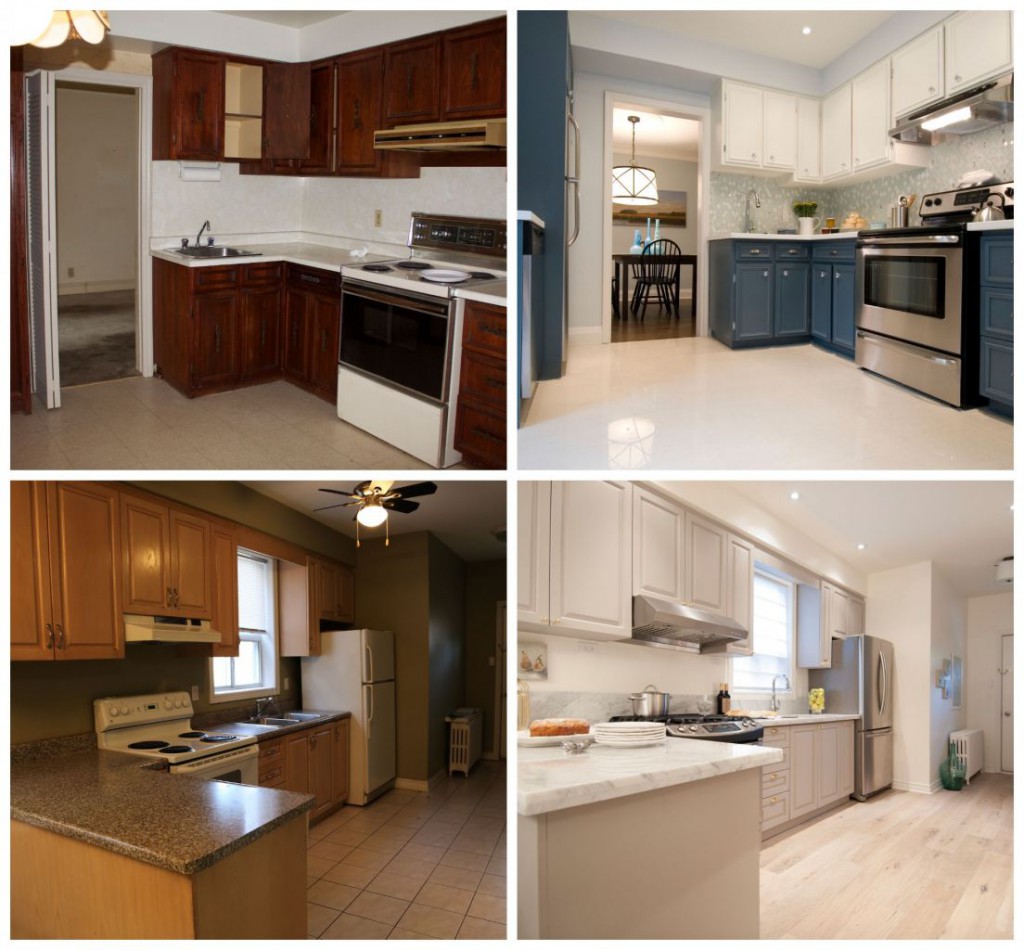
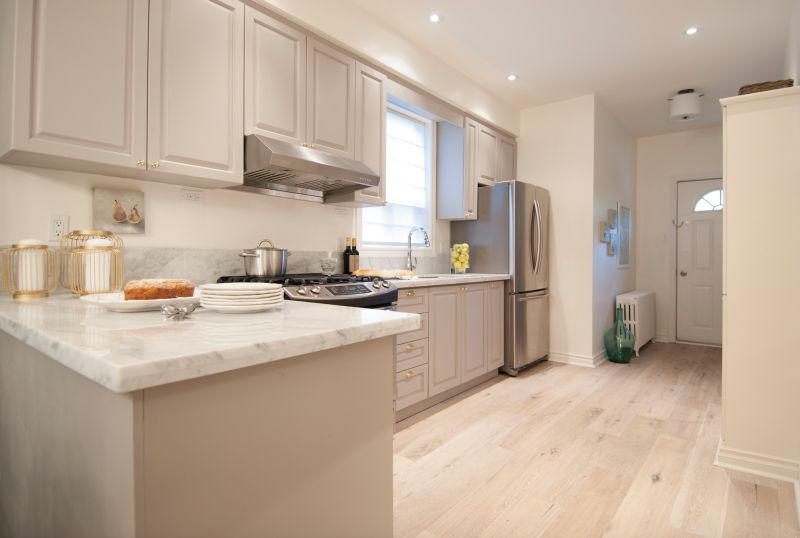
If your kitchen cabinets are in decent shape but could use a little sprucing up, consider a coat of paint. It’s a great way to give your kitchen a new look without spending a lot of money.
A lot of people are intimidated by painting kitchen cabinets but it’s actually an easy DIY project – it’s just time consuming. There’s the time it takes to do the painting itself, but there’s also a lot of drying time required. If you’re going to paint your cabinets be prepared to be without functioning kitchen cabinets for several days at least.
Prepare the Room
Kitchens tend to be pretty full of stuff. Before you start taking apart the cabinets remove everything that could potentially get in your way. You’ll need space to move around and put your painting supplies so get as much out of the room as possible.
You’ll also probably want to tape down drop cloths around the cabinet boxes so that none of the paint drips on the floor.
Prep the Cabinets for Painting
The key to a nice even surface is all in the prep work.
- Remove the doors from the cabinet boxes and remove all of the hardware.
- Mark each cabinet door or drawer and its corresponding opening with matching numbered pieces of tape so you’ll know which piece goes where
- If you’re reusing the hinges tape the screws to the hardware they came from so they don’t get lost.
- Lightly sand the doors and the boxes using 100-grit sandpaper in order to smooth any rough spots and help the paint adhere. At this point you might also want to fill any holes with wood filler and then sand down again once it’s dried.
- After sanding scrub the boxes and doors with a TSP cleaner and allow to dry.
Paint Kitchen Cabinets – How To
Once the cabinets are prepared you’re ready to prime and paint.
There are three options for painting:
1) If you want to paint with a brush you can pick up a cabinet painting kit at a hardware store for a reasonable price. They usually include paint, brushes, sponges, and instructions. Otherwise you can get all these items separately.
2) The second option is to use a compressor with a sprayer, which should give you a more even finish than brushing (and it’s faster!).
3) The third option is to send the doors out to a shop for spraying. This will definitely give you the most professional-looking finish with no drips or brush marks. The finished product is usually worth the few hundred dollars it will cost.
Whatever you decide, I recommend spraying a primer coat first and allowing it to dry for a few days before spraying the top color. Depending on what your cabinets are made of you might even want to do two coats of primer in order to fill in any grain that the sanding didn’t fully take care of.
Once the primer is totally dry give it another light sanding to remove any brush marks. Then wipe down and allow to dry.
Apply the top coat and allow to dry. Keep in mind that cabinet paint can take up to 30 days to dry and cure fully so be really careful around newly painted cabinets.
How to Paint Kitchen Cabinets – Simple Tips
- Choose a melamine paint or a paint with a melamine component in order to improve the durability.
- If you’re using a brush, brush first against the grain and then with it.
- Any time you’re taking on a painting project, be sure to work in a well-ventilated area. Open the windows and use a fan if necessary.
- During the drying process try to use the room as little as possible in order to reduce the risk of any accidental bumps or damage.
- Consider keeping a fan going in order to keep any dust from settling while the paint is drying.
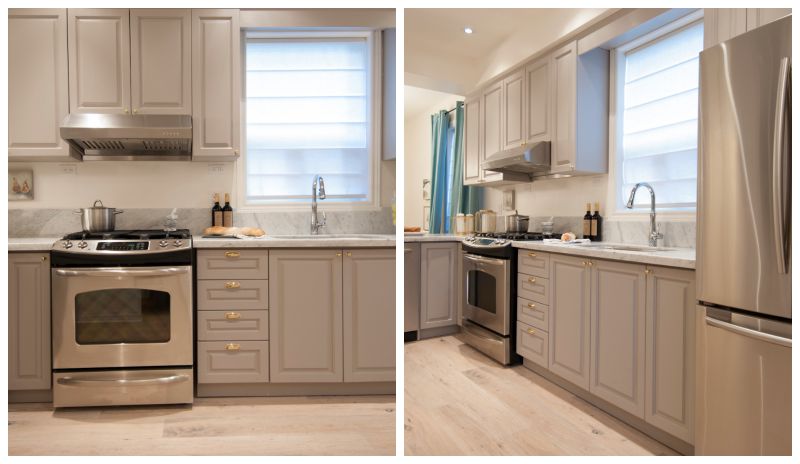
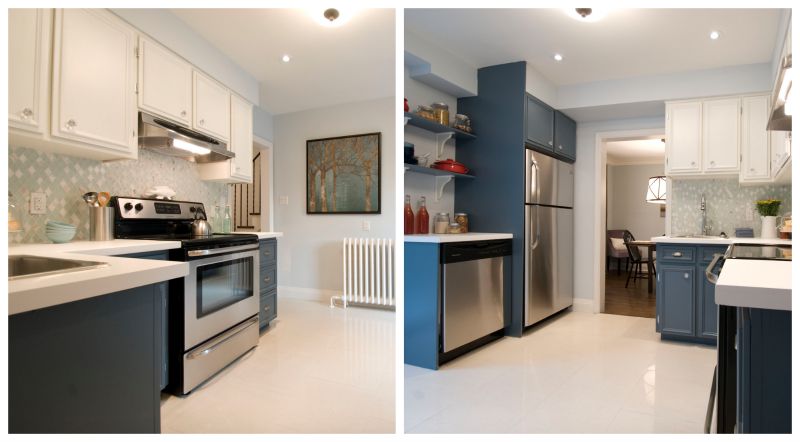
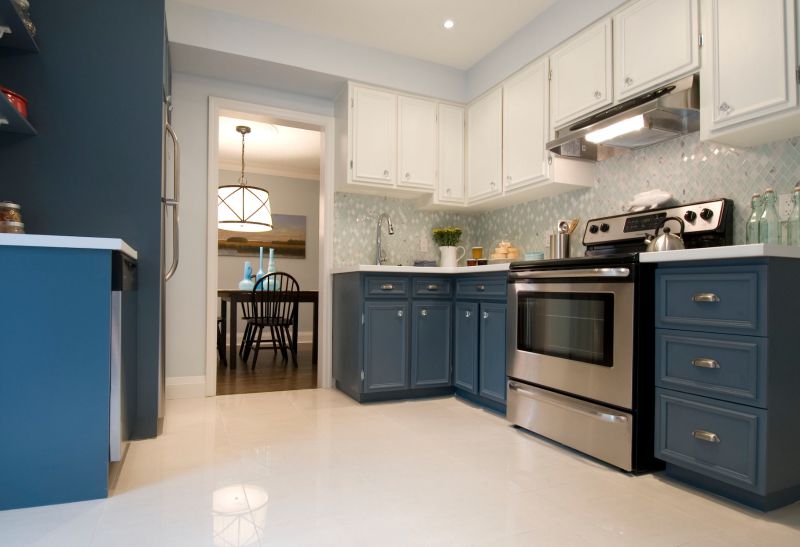
If you’re going to the trouble of painting your cabinets it might be worth taking the extra step of replacing your cabinet hardware, countertop and backsplash. These items together will cost you a fraction of the cost of a full renovation and will still give you a good return on investment.
For more helpful tips visit my Painting Hacks Pinterest Board.
Photos courtesy of Skit Inc.

Comments