How to Frame Around Ductwork in 5 Easy Steps
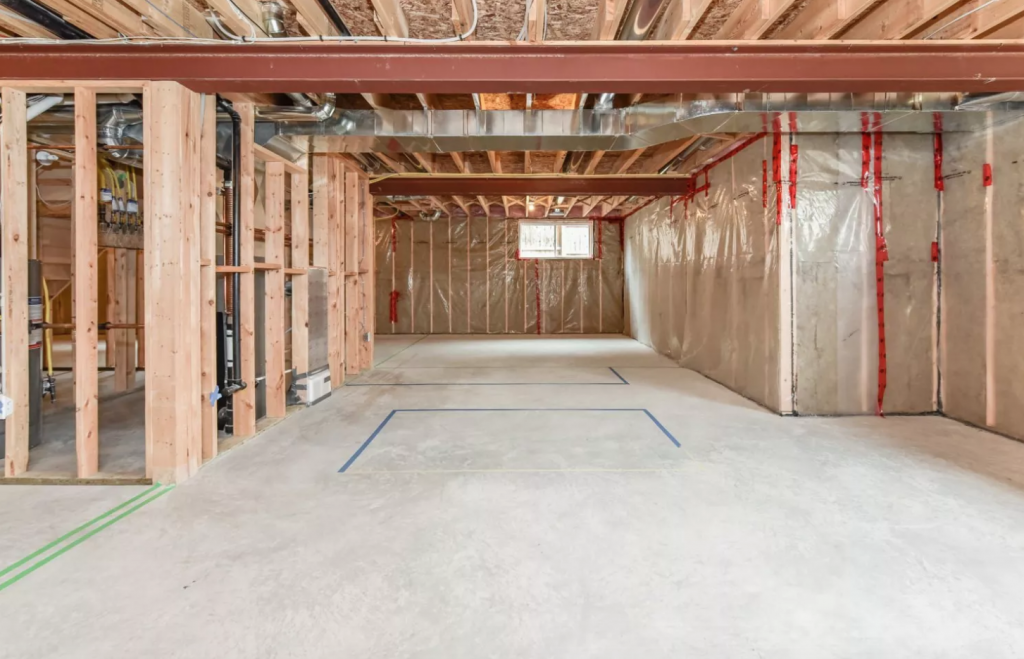
Bulkheads are found in many residential homes. They’re used to cover ductwork (the transportation system by which the air from your heating, ventilation, and air conditioning (HVAC) gets moved throughout the home), so that the metal tubes are not visible. Building a bulkhead in order to frame around ductwork involves building a wooden frame (known as a soffit) and then drywalling over it. When complete it should look like an extension of your ceiling.
Materials Needed
- Tape measure
- 2×2” framing lumber
- Table or circular saw
- Framing nails
- Screws (optional)
- Drill (optional)
- Hammer
- Speed square
- Drywall
Instructions
1.) Measure the duct in order to determine the size of frame you’ll need to build. Always add about 1&½” for clearance between the frame and the duct.
2.) Start building by creating soffit ladders on the ground using 2×2’s. These “ladders” should consist of a top plate, bottom plate, and rungs to attach the two (these will be attached to the ceiling on either side of the duct). Cut four 2×2’s the length of the duct for the top and bottom plates, and then however many 2×2’s you need to create the rungs (space them so the centers are 24” apart).
3.) Attach all the pieces of the ladders. Nail two end rungs to the long 2×2’s first in order to create a long rectangle, then install the internal rails. It’s very important to make sure the structure is square by using a speed square, otherwise, the finished product will be slanted and it will look terrible.
4.) Now you’ve got two ladders that will form the sides of the bulkhead. To finish building the frame you need to attach the two bottom plates. In order to do so mark a few 2×2’s to fit across the bottom of the two ladder sections, spaced to the size of the duct plus 1” on each side for clearance. Like you did in the previous step, start by nailing the end pieces first, and then the internal pieces.
5.) Lift the finished frame and place it around the duct (you’ll need assistance for this step). Nail or screw the top plates into the ceiling joists so that it’s secure. If you’re a beginner you might want to use screws so that you can easily readjust if necessary. Finish it off by covering with drywall.

Some people prefer to attach the ladders to the ceiling joists before installing the cross beams that form the bottom of the frame. This is perfectly acceptable. Just be sure that the ends of the ladders are perfectly aligned when you screw them in.

Comments