Acrylic Shower Bases Do’s and Don’ts
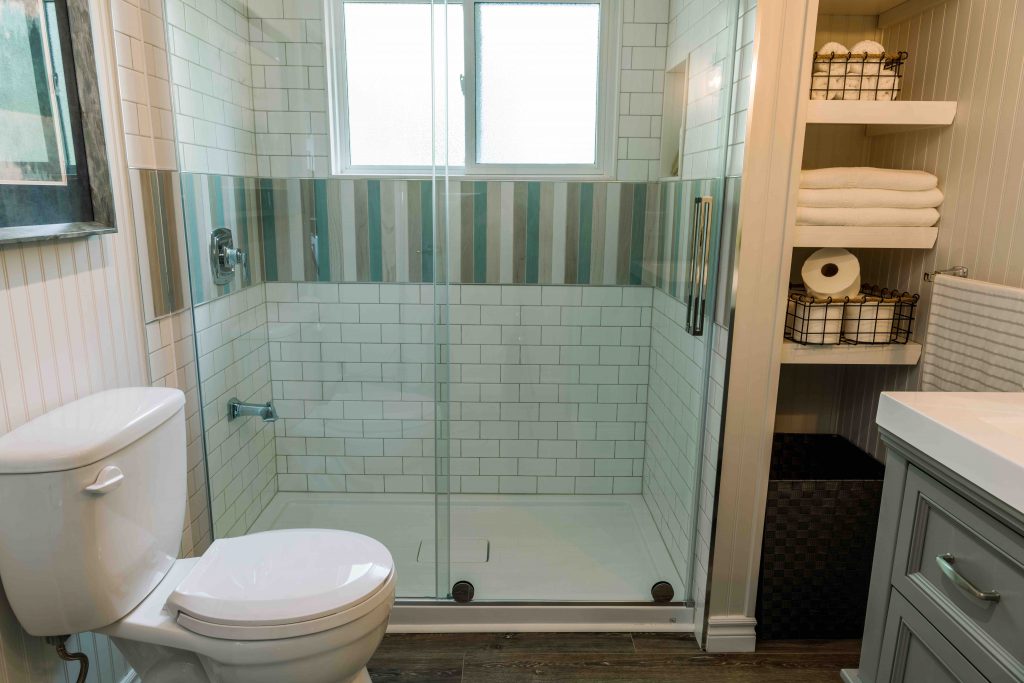
Updating your bathroom or adding an extra shower can be a great way to add value to a home. My preference is always to tile the entire shower area, including the floor, but if you don’t have the time or budget for a high-end redo, don’t be discouraged. One solution can be combining an acrylic shower base with tiled walls—that way you can cut some costs, and still get that stylish design. There are some important considerations when using acrylic bases, especially when it comes to waterproofing.
Here are a few do’s and don’ts if you’re considering an acrylic base for your shower.
Budget & Timeline
DO go with an acrylic base if you’re looking for a budget-friendly option. While there are always exceptions, acrylic bases are generally inexpensive to purchase and install. I often use them in basement bathrooms when I’m looking to save some money.
DON’T just choose the cheapest option. Do a little comparison shopping and read the online customer reviews so that you can be sure you’re getting a good, quality product.
Installation & Waterproofing
DON’T ignore the importance of waterproofing when installing an acrylic shower base. The walls and the area around the top of the acrylic base along the wall are very important for proper waterproofing and it is essential that it be done correctly.
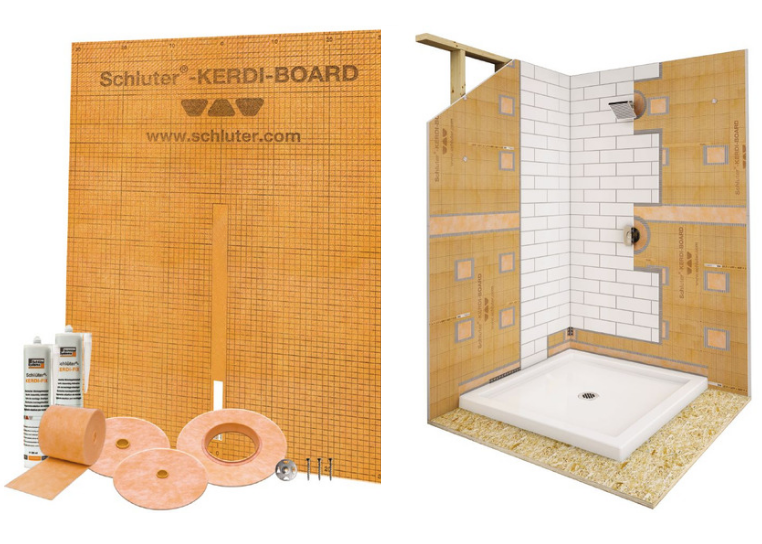
DO use the appropriate waterproofing materials on the shower walls. I suggest the KERDI-BOARD kit from Schluter Systems as it includes all of the waterproofing components required for the job. I use this every time I’m renovating a shower.
DO work with a contractor who understands the importance of waterproofing. In a bathroom, proper waterproofing is non-negotiable.
DON’T do the installation yourself unless you have plenty of previous experience. With the amount of water that will run through this area, you want to be confident that there are no leaks. Mistakes made in bathrooms can be very costly to fix!
Design & Storage
DON’T forget to include storage in your shower. That’s the other great thing about having tiled walls—it’s easy to add niches or shelves to help elevate the design and functionality of the space.
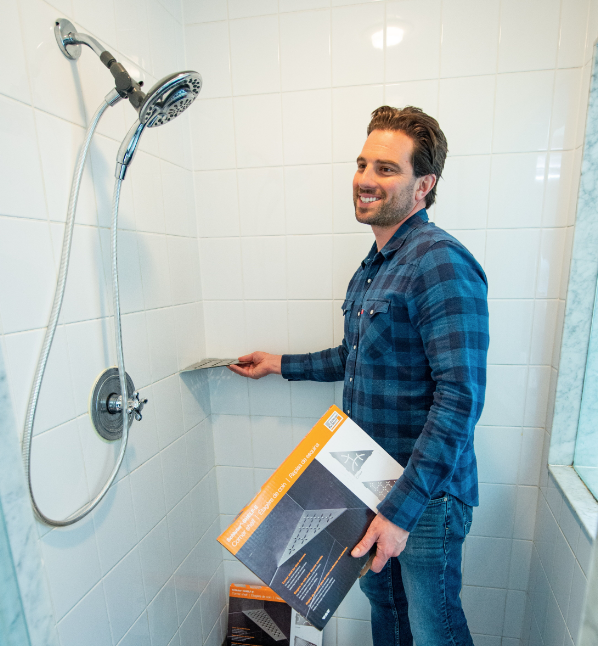
DO opt for shelves if you’re trying to keep costs down. A shelf is easier to install than a built-in niche so it is often more affordable. My preference is the Schluter®-SHELF-E which is a corner shelf designed for tiled walls. (Check out this one-day bathroom renovation I did to see how easy they are to install.) You can use these shelves to create a more high-end look, minimizing the visual impact of having an acrylic base. They come in brushed stainless steel or aluminum, in a range of textured, colour-coated finishes.
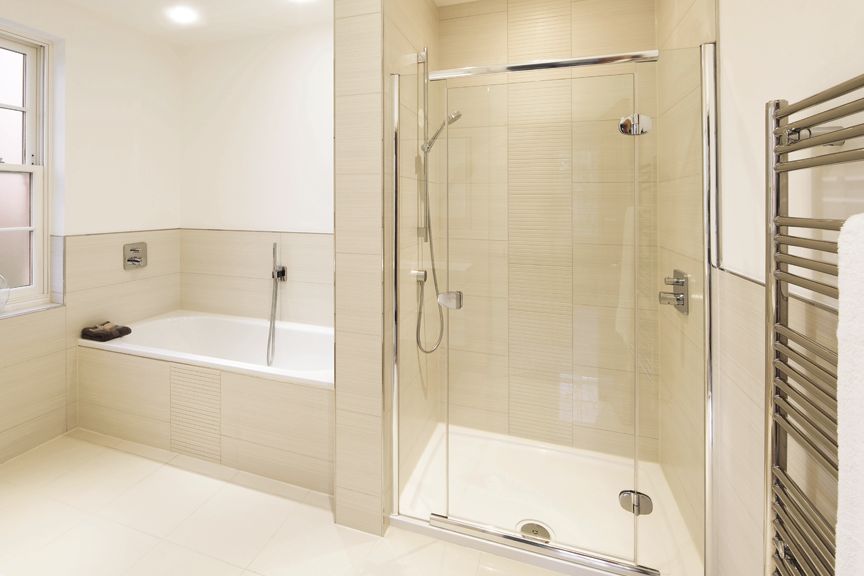
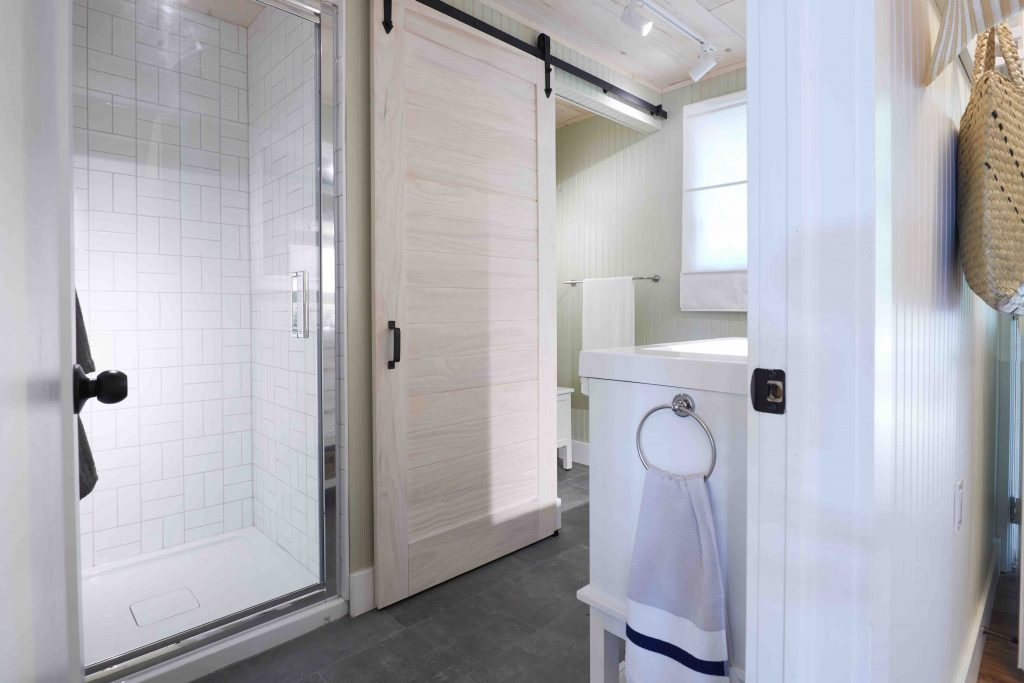
DON’T assume that an acrylic shower base will negatively affect your design. An acrylic base still allows you to have all the same great tile options in the rest of the shower. I’ve used them in many beautiful bathroom renovations, especially in cottages and vacation properties.
DO opt for a simple, white base in order to achieve a more high-end look. Some companies offer different colours, including black and beige, but in the majority of cases, white is the safer option, colour-wise.
Using an acrylic shower base in combination with tiled walls is a great way to save some money on your shower renovation and still incorporate lots of personalized design. Just be sure to have it properly installed and waterproofed. For more information about how to waterproof your shower, please visit Schluter.com.


Comments